Step 1: Download Anaconda
Anaconda is a framework to facilitate
package and environment management.
You can install the latest version
of anaconda by visiting the
following link:
https://www.continuum.io/downloads
You can download the “Python 3.5” or the “Python 2.7” version depending on which version of python you use more frequently. Note that despite what you choose you can still run both python 2.7 and python 3.5.

Step 2: Get Biggorilla’s Environment
If Anaconda is installed successfully, you can run the following command to get BigGorilla’s environment for Python 3.5:
>> conda env create biggorilla/py3gorilla
You can alternatively get the environment for Python 2.7 by
replacing “py3gorilla” with
“py2gorilla” in the above command.
Step 3: Activate BiGGorilla
To activate the BigGorilla’s Python 3.5 environment, enter the following command:
>> source activate Py3Gorilla
You can activate the environment for Python 2.7 by replacing “Py3Gorilla” with “Py2Gorilla” in the above command.
To deactivate the BigGorilla environment enter the following command:
>> source deactivate
A quick test
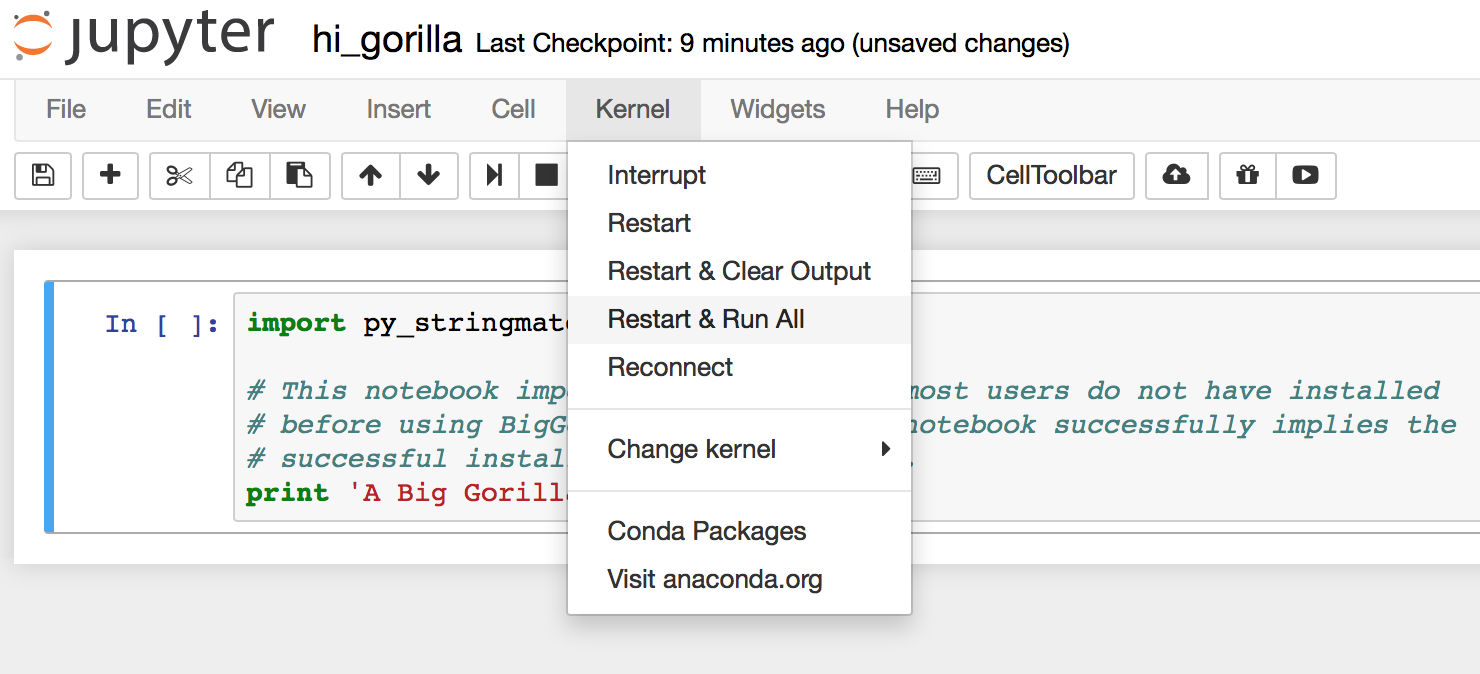
Let’s try to use a simple python notebook to ensure that the setup has been successful. First, download the test notebook from BigGorilla’s repository from here or by entering the following command:
>> anaconda download biggorilla/hi_gorilla
>> source activate Py3Gorilla
>> jupyter notebook hi_gorilla.ipynb